avatar

Install vmware player in Debian 8

September 17, 2015 in Web Server

Install vmware player in Debian 8


Download the installation files from vmware official site https://my.vmware.com/web/vmware/free#desktop_end_user_computing/vmware_workstation_player/ .

Now you should have a file like VMware-Player-12.0.0-2985596.x86_64.bundle.

open a terminal and execute it:

cd ~/Downloads/

chmod +x VMware-Player-12.0.0-2985596.x86_64.bundle

sudo ./VMware-Player-12.0.0-2985596.x86_64.bundle

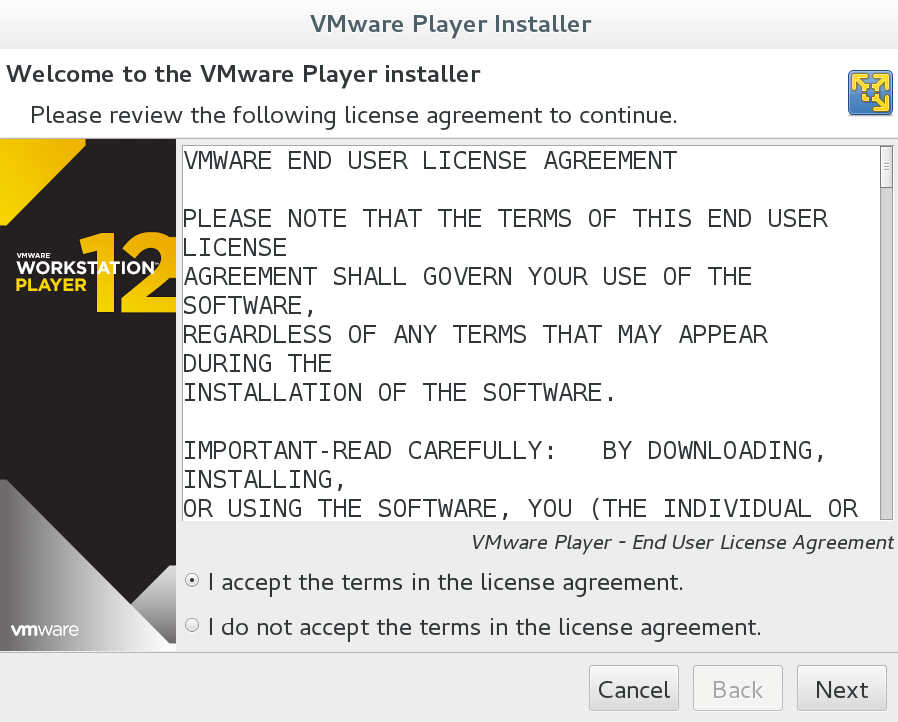
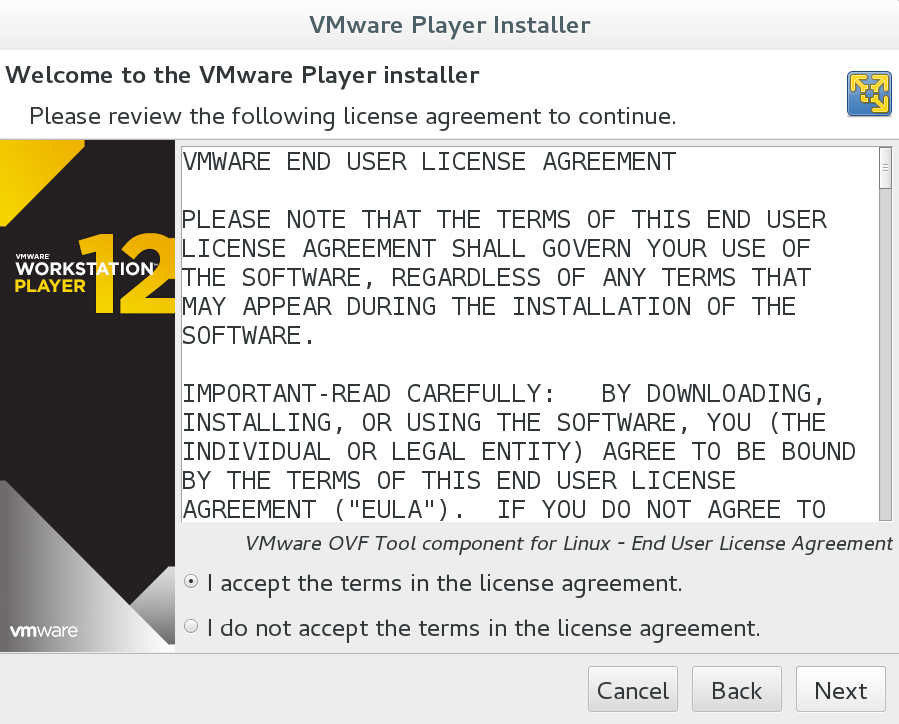
This will bring up the installation dialog


You need to accept the agreement in order to continue. Take a look before you accept it.

avatar

Install Thunderbird in Debian 8

September 17, 2015 in software, Web Server

Install Thunderbird in Debian 8

Lets begin by downloading Thunderbird.

Visit the official Thunderbird site https://www.mozilla.org/thunderbird/ and click on Download button.

This will download a file like thunderbird-xx.x.x.tar.bz2 where "x" is the current version of Thunderbird.

Lets move that file in /usr directory.

sudo mv ~/Downloads/thunderbird-xx.x.x.tar.bz2 /usr/

Go to /usr and decompress Thunderbird:

cd /usr

sudo tar xvf thunderbird-xx.x.x.tar.bz2

Remove the compressed file:

sudo rm thunderbird-xx.x.x.tar.bz2

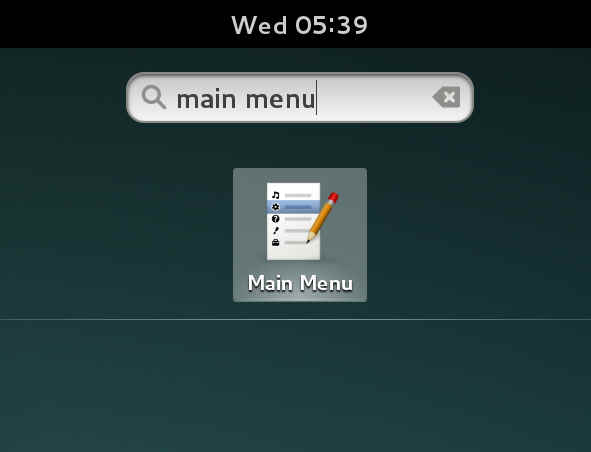
lets create the launcher. Press the "Super Key" (this one is located on your keyboard between "ctrl" and "alt". In windows world is also called "Windows Key")

then type "main menu"

main_menu

avatar

Install Filezilla in Debian 8

September 16, 2015 in Web Server

Install Filezilla in Debian 8

Lets begin by downloading Filezilla.

Visit the official Filezilla site https://filezilla-project.org/download.php?type=client and click on Download button.

This will download a file like FileZilla_x.xx.x_x86_64-linux-gnu.tar.bz2 where "x" is the current version of Filezilla.

Lets move that file in /usr directory.

sudo mv ~/Downloads/FileZilla_x.xx.x_x86_64-linux-gnu.tar.bz2 /usr

Go to /usr and decompress filezilla:

cd /usr

sudo tar xvf FileZilla_x.xx.x_x86_64-linux-gnu.tar.bz2

Remove the compressed file:

sudo rm FileZilla_x.xx.x_x86_64-linux-gnu.tar.bz2

lets create the launcher. Press the "Super Key" (this one is located on your keyboard between "ctrl" and "alt". In windows world is also called "Windows Key")

then type "main menu"

main_menu

avatar

install Firefox in Debian 8

September 16, 2015 in software

Install Firefox in Debian 8

Lets begin by downloading Firefox.

Visit the official Firefox site https://www.mozilla.org/en-US/firefox/ and click on Download button.

This will download a file like firefox-xx.x.x.tar.bz2 where "x" is the current version of Firefox.

Lets move that file in /usr directory.

sudo mv ~/Downloads/firefox-xx.x.x.tar.bz2 /usr

Go to /usr and decompress firefox:

cd /usr

sudo tar xvf firefox-xx.x.x.tar.bz2

remove the compressed file:

sudo rm firefox-xx.x.x.tar.bz2

lets create the launcher. Press the "Super Key" (this one is located on your keyboard between "ctrl" and "alt". In windows world is also called "Windows Key")

then type "main menu"

main_menu

avatar

Remove nouveau and install nvidia Driver in Debian 8

September 16, 2015 in O.S.

Install Nvidia Drivers in in Debian 8

Lets remove first everything that point to any existing nvidia installation.

open a terminal and type:

sudo apt-get remove nvidia*

sudo apt-get autoremove

update and download a few tools that we will need:

sudo apt-get update

sudo apt-get install dkms build-essential linux-headers-$(uname -r)

This part is optional but its is recommended:

Install 32 bit support:

dpkg --add-architecture i386

sudo apt-get update

sudo apt-get install lib32z1 lib32ncurses5

sudo apt-get update

Now its time to blacklist the nouveau driver.

sudo nano /etc/modprobe.d/blacklist-nouveau.conf

and add the following lines:

blacklist nouveau
blacklist lbm-nouveau
options nouveau modeset=0
alias nouveau off
alias lbm-nouveau off

avatar

Remove nouveau and install nvidia Driver in Ubuntu 15.04

July 6, 2015 in O.S.

Install Nvidia Drivers in Ubuntu 15.04


Lets remove first everything that point to any existing nvidia installation.

open a terminal (ctrr+alt+t) and type:

sudo apt-get remove nvidia*

sudo apt-get autoremove

update and download a few tools that we will need:

sudo apt-get update

sudo apt-get install dkms build-essential linux-headers-generic

Now its time to blacklist the nouveau driver.

sudo nano /etc/modprobe.d/blacklist-nouveau.conf

and add the following lines:

blacklist nouveau
blacklist lbm-nouveau
options nouveau modeset=0
alias nouveau off
alias lbm-nouveau off

Disable the Kernel nouveau by typing the following commands:

echo options nouveau modeset=0 | sudo tee -a /etc/modprobe.d/nouveau-kms.conf

sudo update-initramfs -u

Now go to nvidia.com and download the driver for your graphic card.

The file name should be something like that "NVIDIA-Linux-x86_64-352.21.run" depends on the architecture of your machine and the version of the driver.

avatar

install Java in Ubuntu

October 20, 2013 in software

Install Java for firefox in Ubuntu

java_logoLets begin with verifying if Java is already installed in your computer.

Visit the official Java site www.java.com/en/ and click on Do I Have Java?

If you don’t have please keep reading.

Lets download Java:

Go back to the official website www.java.com/en/ and click on Free Java Download.

Now download the package fitting on your version of Linux (32 or 64 bit)

If you are not sure what kind of version you are running open a terminal and type:

uname -m

If the output is i686 it means that you are running on 32bit O.S. If you get x86_64 then you are running on a 64bit O.S.

Now that you have the correct package you need to extract the content into /usr/java. But first you need to create the folder. For that you will need root access

sudo mkdir -p /usr/java

Then move the java package into that folder

sudo mv ~/Downloads/jre-7u45-linux-i586.tar.gz /usr/java

Note. You need to change jre-7u45-linux-i586.tar.gz with the name of the package you download before

Now lets extract the package

cd /usr/java/

sudo tar xvf jre-7u45-linux-i586.tar.gz

Create a folder for firefox plugins

cd ~/.mozilla

mkdir plugins

At the end you need to create a symbolic link for the firefox plugins

for 32bit:

ln -s /usr/java/jre1.7.0_45/lib/i386/libnpjp2.so ~/.mozilla/plugins/

or for 64bit

ln -s /opt/java/jre1.7.0_45/lib/amd64/libnpjp2.so ~/.mozilla/plugins/

Note. You need to change jre1.7.0_45 with the directory name you create when you extract the package.

Restart Firefox and check again if java is working like you did on the beginning of this article.

A video tutorial is coming soon.


avatar

fstab in ubuntu

July 11, 2013 in Web Server

How to configure fstab in Ubuntu

what is fstab?

In fstab or FileSystemTABle,you will be able to find informations regarding all your mount points in your computer.

In other words is a list of disks and partitions and also include information regarding where they are mounted in your Operating System.

It maybe sounds a bit complicat right now but i think that you will be able to understand if you see an example.

I will post here an fstab file (you can find yours under /etc/fstab)


# <file system> <dir>         <type> <options>       <dump> <pass>
/dev/sda1         /                   ext4      defaults             1           1
/dev/sda2        /usr              ext4      defaults              1           1

/dev/sda4        /home         ext4       defaults             0            0
/dev/sda5         swap          swap    defaults              0           0
/dev/sdc1         /data2         ext4      defaults,auto     0           2
/dev/sdb1         /data            auto     defaults,auto     0           2

Lets check this table:

on the first column:

Here you can find informations regarding the hard drives and partitions. In this computer there are 3 Hard Drives sda1, sda2, sda3 . On the first hard drive the OS is installed and the other 2 hdds are there for some additional storage. The first hard drive is divided into partitions but the other hard drives are not in this example.

On the second column:

Here you can see where in your file system are mounted your hard drives and your partitions

On the third column:

You can specify here what is the file system of your partitions. Some of the options are: ext2, ext3, ext4, nfs, reiserfs, xfs, jfs, smbfs, iso9660, vfat, ntfs, swap, and auto. the auto   is my favourite because in that mode you let the O.S. decide what kind of file system is your partition. This is very useful for CD and DVD ROMS.

On the forth Column:

Here you can specify how the system will mount your drives and partitions. You can add more than 1 option with ","

auto -- file system will mount automatically at boot.

noauto -- the filesystem is mounted only when you want to mount it (you can the mount command)

exec -- allow the execution binaries that are on that partition (default).

noexec -- do not allow binaries to be executed on the filesystem.

ro -- mount the filesystem read only.

rw -- mount the filesystem read-write.

user -- permit any user to mount the filesystem

nouser -- only allow root to mount the filesystem (default).

suid -- allow the operation of suid, and sgid bits.

nosuid -- block the operation of suid, and sgid bits.

noatime -- do not update inode access times on the filesystem. Can help performance.

nodiratime -- do not update directory inode access times on the filesystem. Can help performance.

relatime -- update inode access times relative to modify or change time. Access time is only updated if the previous access time was earlier than the current modify or change time (similar to noatime, but doesn’t break mutt or other applications that need to know if a file has been read since the last time it was modified). Can help performance.

sync -- I/O should be done synchronously.

async -- I/O should be done asynchronously.

defaults -- this is the most used and it includes the default mount settings (equivalent to rw,suid,dev,exec,auto,nouser,async). I also like this one 😉

Fifth Column

This is where you tell to dump utility if it needs to be backuped or not. if its 0 the dump will ignore this one. if it is 1 the dump will include this drive in the backup process.

Sixth Column.

this is the priority on check disk and can be 0,1,2. the root file system must have 1 and that means high priority on check. the other can be 0 no check or 2 check after file system.
avatar

Install Google Chrome in Ubuntu 13.04

April 28, 2013 in software, Web Server

Google Chrome in Ubuntu

Dependencies:

libdev0.

Download this package from here (right click and save link as…)and install it with Ubuntu Software Center or in Terminal:

navigate to the directory where the package is:

cd ~/Downloads

sudo dpkg -i libudev0_175-0ubuntu19_i386.deb


Install chrome:


Now just go to the following link:

http://www.google.com/chrome and download the chrome package.

then install it with Ubuntu Software center or from the Terminal like before.

Enjoy the Google Chrome

avatar

Manage Cisco Switch / Router from Linux

April 14, 2013 in Services, Web Server

Connect your Cisco Switch / Router on Ubuntu

Requirements for Configure a Cisco device from Console port:

A Host machine with your preferred O.S. In this case I’m using an Ubuntu 12.04 LTS.

A serial port in your computer motherboard or a USB to RS232(Serial) Converter.

A text based terminal emulation (i use minicom in this example)

Its also useful to install a TFTP server on your machine if you want to copy file from or to your Cisco switch / Router. I choose to use the tftpd-hpa

Check for active Serial ports on Linux:

Before we proceed we need to check all the available Serial ports on your machine and write down the port name because we will need it for configuring minicom. Open a terminal and type :


dmesg |grep tty

output:

In my case i have a pl2303 USB to Serial Converter and the name of this device is "ttyUSB0″